Ready to take a deep dive into the exciting world of gaming tech? Then come along with me as I explore the ins and outs of building your own custom gaming computer, from selecting the right components to putting it all together. I’ll be sharing my personal experience and expertise to answer one very important question: how long does it take to build a gaming PC? Let’s jump right in!
Why I Chose to Build a Gaming Computer
When I decided that I wanted to start playing games on my computer, the first thing I thought of was how to get the most performance and power out of the machine. After doing some research and reading up on a few reviews, I knew that building my own gaming computer would be the best and most affordable option. I wasn’t sure what it would take, both in terms of time and effort. However, after looking over the components necessary for gaming, prioritizing them based on needs for gaming performance, shopping around for deals on parts, and putting it all together using an online guide as a reference point – I finally had a very capable gaming computer ready for use.
The whole process took me about two full weeks from start to finish – shopping for parts, researching different pieces I needed, ordering them from various sites, and testing compatibility issues with certain components before committing to buying something – it was definitely time-consuming! Thankfully though, once all the parts arrived at my home office (or bedroom if you will), assembling them was relatively straightforward following the included manuals or guides found online. Although problems like optimization settings were still present during this period and even after all of this work – but setting it up correctly gave me plenty of room to grow as well as upgrade my PC in the future if necessary.
The final product has been nothing short of astounding; not only did I learn a lot while putting together this PC but also saved up quite a bit compared to pre-built models available online or at stores. Working with such tangible pieces felt more natural than dealing with software problems – fiddling with hardware came easier as it’s always satisfying knowing that your final product can be prominently displayed in your living space alongside other home decorations!
Research: What I Needed to Know Before Building
Before I could even begin to build a gaming computer, I did some research on all the components that would best suit my needs, as well as familiarity with the different steps to build a gaming PC. Building a PC can be daunting but it is not impossible.
I had some basic knowledge of computers and the components needed to put a PC together, which was essential in making the right purchasing decisions and preventing costly mistakes. Additionally, topics such as hardware compatibility, overclocking, liquid cooling solutions, and more were explored to ensure that I had all of the information necessary before it was time to purchase any components.
The most important thing to do before starting a project like this is to research everything you can find on the subject. Ask experienced friends or family members for advice and read through tutorials and forums in order to become familiar with building a computer from scratch. This along with my personal experience helped me during this process for ensuring preparedness for what comes next.
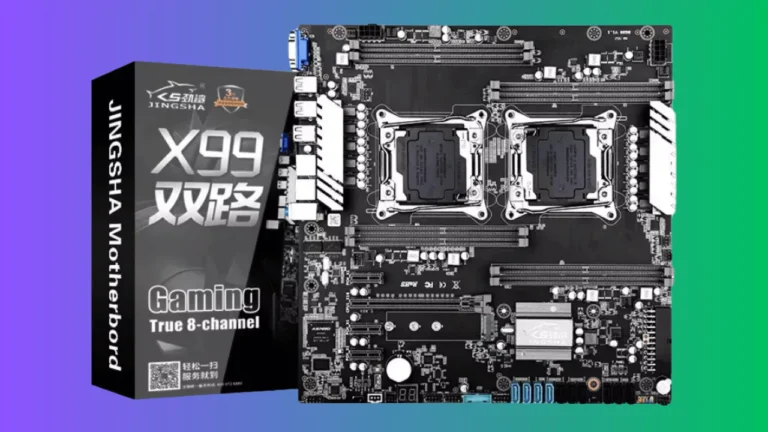
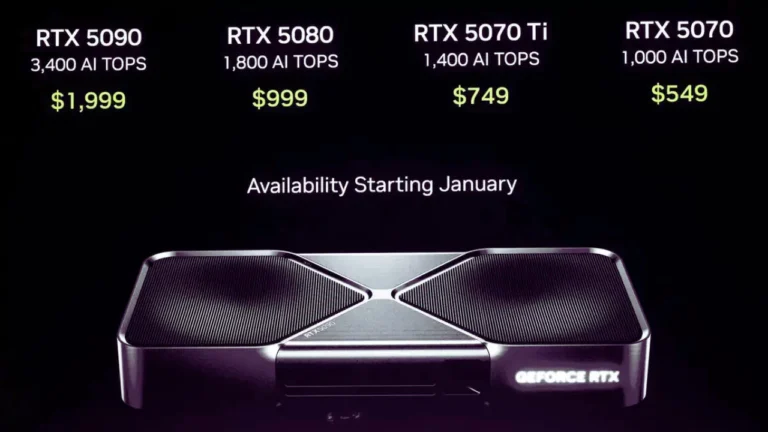
Parts Selection: Choosing the Right Components
When it comes to building a gaming computer, one of the most important aspects is choosing the right components that will ensure maximum performance and provide years of reliable use. All too often, people make the mistake of picking components that are either not powerful enough or incompatible with each other, spending more money than necessary to get their system up and running.
The first step when building a gaming PC is to narrow down your parts selection. You’ll want to look at a variety of different elements including:
- Your budget
- What type of games do you plan on playing
- Processor speed
- Graphics card performance
- RAM capacity
- Other features such as cooling systems and peripheral connectivity that you may need
Before making any final decisions, it’s vital to spend some time researching all the components you may need in order to optimize your experience.
It’s also important to use reputable brands since they usually offer better warranties than lesser-known ones – this could save you lots of headaches in case something goes wrong down the line. Additionally, the quality and features offered by popular brands can often be higher than other competitors, which means less risk for issues like overheating or driver compatibility errors.
Once you have decided on your exact parts list and checked for compatibility with each other elements within your setup (motherboard/CPU/memory), you can start piecing together your dream machine!
Assembly: Putting It All Together
Putting together the components of a gaming PC can be daunting, but with the right know-how, it is certainly doable. In my experience, expect to spend at least two hours assembling the individual parts. Depending on how familiar you are with building PCs, you may need more time to complete all of the necessary steps.
- Assemble the processor and heatsink and securely attach them to your motherboard.
- Attach your RAM modules and make sure that they’re properly installed in their designated slots. Follow your motherboard’s manual for installation instructions if needed.
- Attach the power supply to its designated spot on the back of your case and the hard disk drive to its location at bay along with any other drives and accessories you may have (such as a solid-state drive).
- Connect your cables from the case & other ports accordingly according to instructions from manufacturers or guides found online such as from YouTube & other websites (many options are provided).
- Install OS software in accordance with installation guidelines (can also depend on disk type/processor etc.)
- Reattach cables into ports connecting monitor speakers etc & finally system configurations when necessary based on user needs/requirements.
- Enjoy after verifying operations by running benchmark tests & personal preferences are met etc…
Keep in mind that close attention must be paid when putting components together with screws; make sure not to overtighten them or you could damage components or take too long causing extra strain during future upgrades/maintenance down the line.
Software Installation: Setting Up the Operating System
Installing the operating system is perhaps the most important step of building a gaming computer because it allows you to access the hardware features and adjust settings to your own customization needs. There are dozens of options when it comes to operating systems, but most gamers prefer Windows due to its user-friendly setup.
To install Windows, I recommend first downloading the ISO file from Microsoft. Next, you’ll need to authenticate with a product key before transferring it to your USB drive or optical disc drive. Make sure that your drive meets all minimum requirements listed on Microsoft’s website before attempting this process. Once downloaded, start up your computer and navigate through the installation process. This should take anywhere from 20-30 minutes depending on your processor speed and hard drive capacity.
Finally, once complete you will be able to access all options available within the Windows environment – ready for gameplay!
Testing: Making Sure Everything Works
Once I had all of the parts for my new gaming computer, I had to make sure that all the pieces would work together. Completing this testing process is one of the most important steps and should not be skipped.
The correct order to turn on any device is to first plug it in and turn on the power supply and then boot up your monitor before turning on the rest of the components. This will protect against any possible damages during installation by preventing shorting out or incorrect voltage issues while connecting parts together.
After everything was plugged in, I connected my peripheral devices such as my keyboard and mouse and booted up my operating system. After going through a few rounds of updates, I assessed each component individually to make sure they were functioning properly within the upgrade system that I had built. This process included:
- Running benchmarks or tests allowed me to see if all of the parts were running at a high level of efficiency or if one was acting as a bottleneck in performance compared to other components.
- After examination, if any part needed further adjustments due to compatibility issues or optimization settings, this could also be done during this step.
Everything ran smoothly after some fine-tuning, so following these steps effectively saved me from having future problems down the line with malfunctioning hardware!
Personalization: Customizing My Gaming Experience
When it comes to having the best gaming experience, personalization is key. While I could purchase a pre-made machine that was ready to go right out of the box, customizing my gaming computer has allowed me to tailor my setup based on my budget, gaming goals, and preferred components. Customizing my machine also allows me to really make it my own.
Building a gaming computer from scratch can be daunting if you don’t have any prior experience with making PCs. I made sure I had all of the components and tools I would need before I started assembling the PC and then looked up helpful tutorials online. For beginners, it is important to do your research and practice patience as some mistakes can be time-consuming to fix.
As for how long it took me, altogether I spent about:
- Two weeks picking out parts
- Around an hour and twenty minutes organizing everything before assembly
- A couple of hours assembling my PC from start to finish (including cleaning leftover iron filings off the motherboard)
- Maybe twenty minutes setting up BIOS settings for optimal performance for the first time (after many tries!)
- About an hour troubleshooting slow booting issues due to unreliable RAM sticks
- Thirty minutes reformatting my SSDs (and getting rid of typical Windows bloatware)
- Plus another ten minutes added thermal paste on the processor and put on all of the cooling fans properly.
Now that all of that work is done, however, turning my PC on every day makes every last minute worth its while as I now have a customized gaming computer with extreme performance potential that suits me perfectly!
Conclusion
When all is said and done, it took me around 3 to 4 hours to build, install and tweak my own gaming computer. Depending on your skill level, you may find that it either takes you more or less time. No matter how long it takes, the satisfaction of a job well done – creating your own gaming PC – makes all the effort worth it.
The best advice I can give is: to take your time. Do some research on building computers in general before you start buying parts. Read up on any instructions included with the components you’re buying (particularly the case if you are an amateur builder). Make sure that you have the right tools for any tricky tasks like cable management or mounting components on the motherboard tray. Finally, take a break between steps and take stock of where everything is going – make sure everything fits in properly so that you can enjoy your new gaming rig for years to come!
FAQs-
How long does it take to build a gaming PC?
Building a gaming PC can take anywhere from a few hours to a full day, depending on the complexity of the build and the individual’s experience and skill level.
Is it cheaper to buy a gaming PC or build it?
It can be cheaper to build a gaming PC as you have the option to choose specific components that fit your budget, but pre-built gaming PCs can also be cost-effective and have a warranty.
Is a gaming PC hard to build?
Building a gaming PC can be challenging for someone who is not familiar with the process, but with proper research and guidance, it can be a manageable and rewarding task.