Removing a graphics card from a PC is fairly harmless if you take all of the right precautions not to physically damage other components. Here’s how you safely and easily remove your graphics card.
What You Will Need
- Screwdriver, probably Phillips
- Anti-static wrist strap (recommended)
- Clean workspace with adequate space for a computer case.
Step 1. Turn off and unplug your PC
First and foremost, turn off your computer completely. This means one needs to ensure they unplug the power supply switch, usually placed at the backside of the PC case, or located elsewhere in the system. Remove the power cable from the power supply unit to prevent accidental electrical discharge.
Touch a metal object or wear an anti-static wrist strap to prevent static electricity. Simple, but important, as it might damage sensitive components inside the PC.
Step 2: Open the PC Case
Locate the screws securing the side panel of your computer case. Perhaps these hold in that side panel that has access to the inner parts of your computer. Unscrew these using a screwdriver and then gently remove the side panel and put the panel and screws aside safely.
Underneath, with the side panel off, there should be a clear view of the internal components, including the graphics card.
Step 3: Locate the Graphics Card
The graphics card is typically the biggest component in the case. Often mounted horizontally to a PCIe slot on the motherboard, a good candidate should be well endowed with many outputs that support multiple monitors: at least one of them is preferably HDMI DisplayPort or DVI.
Have first tried to see whether any connectors or cables are attached to the card, and then remove them.
Step 4: Disconnect Any Power Cables Connected to the Graphics Card
Most modern video cards draw direct power from the PSU. Look for any cables that are attached to the top or side of the card. These are usually six- or eight-pin connectors.
Gently press the clip on each connector and pull it out of the socket. Do not pull too tight to avoid damaging the connector or the socket.
Step 5: Unscrew the Graphics Card Bracket
The graphics card is usually secured at one or both ends with a bracket and a screw. Locate the screw(s) at one end of the card, where it presses against the back of the case. Unscrew these using your screwdriver, putting the screws in a safe place.
It means that, once these screws are removed, the card will be free of the case but still attached to the motherboard.
Step 6: Release PCIe Slot Lock
Most of the motherboards have a lock or latch on the PCIe slot to prevent the graphics card from being easily pulled out. Usually, it is located at the end of the PCIe slot, right where the card is connected to the motherboard. Just gently press or pull the latch to release the card.
Apply this with care, as excessive force may break the latch or even damage the motherboard.
Step 7: Remove the Graphics Card
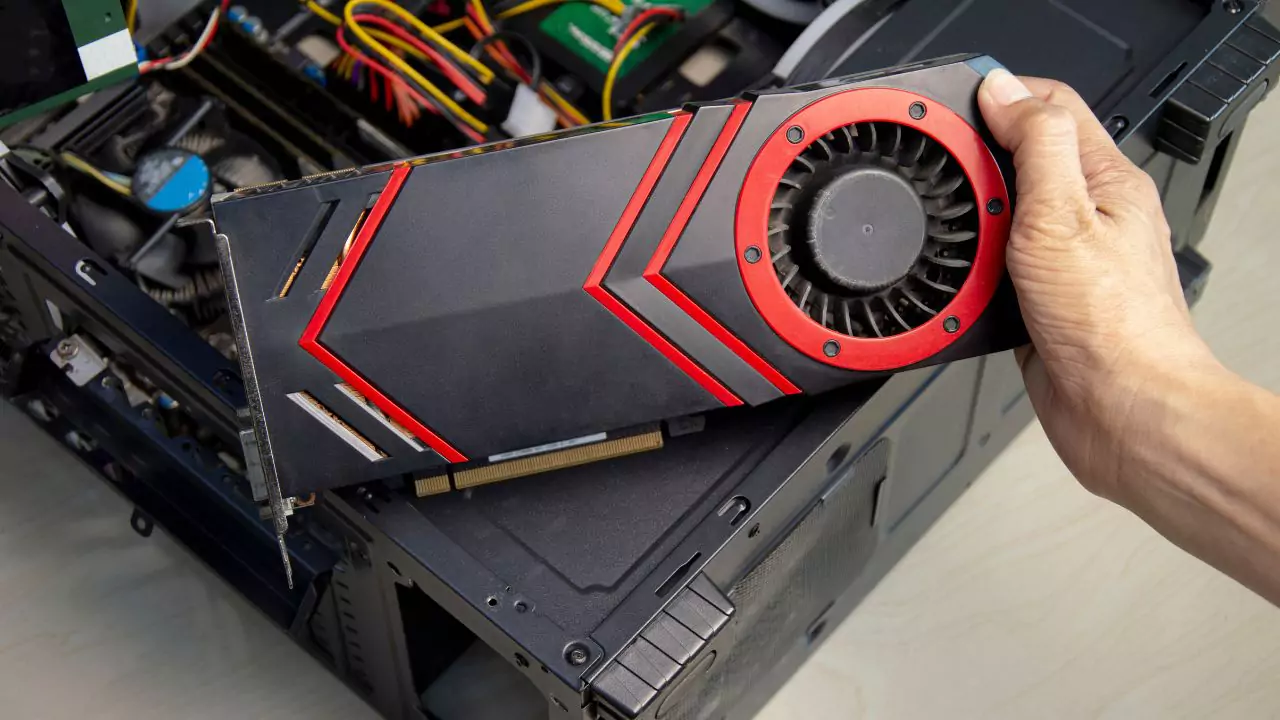
Now you can pull the card holding the latch on the PCIe end released, thus taking it out of the case and power supply. Remove the graphics card Holding this card firm by the heat sink or by the top, pull directly up from the PCIe slot.
Be careful not to twist or bend the card as you pull it out. Place the card on an anti-static surface, with care.
Step 8: Close the PC Case
Replace the side panel on your PC case once you remove the card. Ensure that the panel is in its position and put back the screws you unmounted earlier.
If you plan to install a new graphics card, be sure that all loose cables have been tightened and there is enough space for the new card.
Step 9: Connect and turn ON
Finally, put back the power wire and power on the power supply switching. Restart your PC to see if all is working. If you need to remove the card and then insert a replacement, verify your system properly recognized the new card when you added it.
Tips for Success
- Use an anti-static wrist strap to minimize the risk of static electricity.
- Keep track of the screws and any removed parts.
- Avoid touching the metal contact on the graphics card and other pieces.
Following the steps above carefully should avoid damaging your graphics card, and thus, your PC.


